
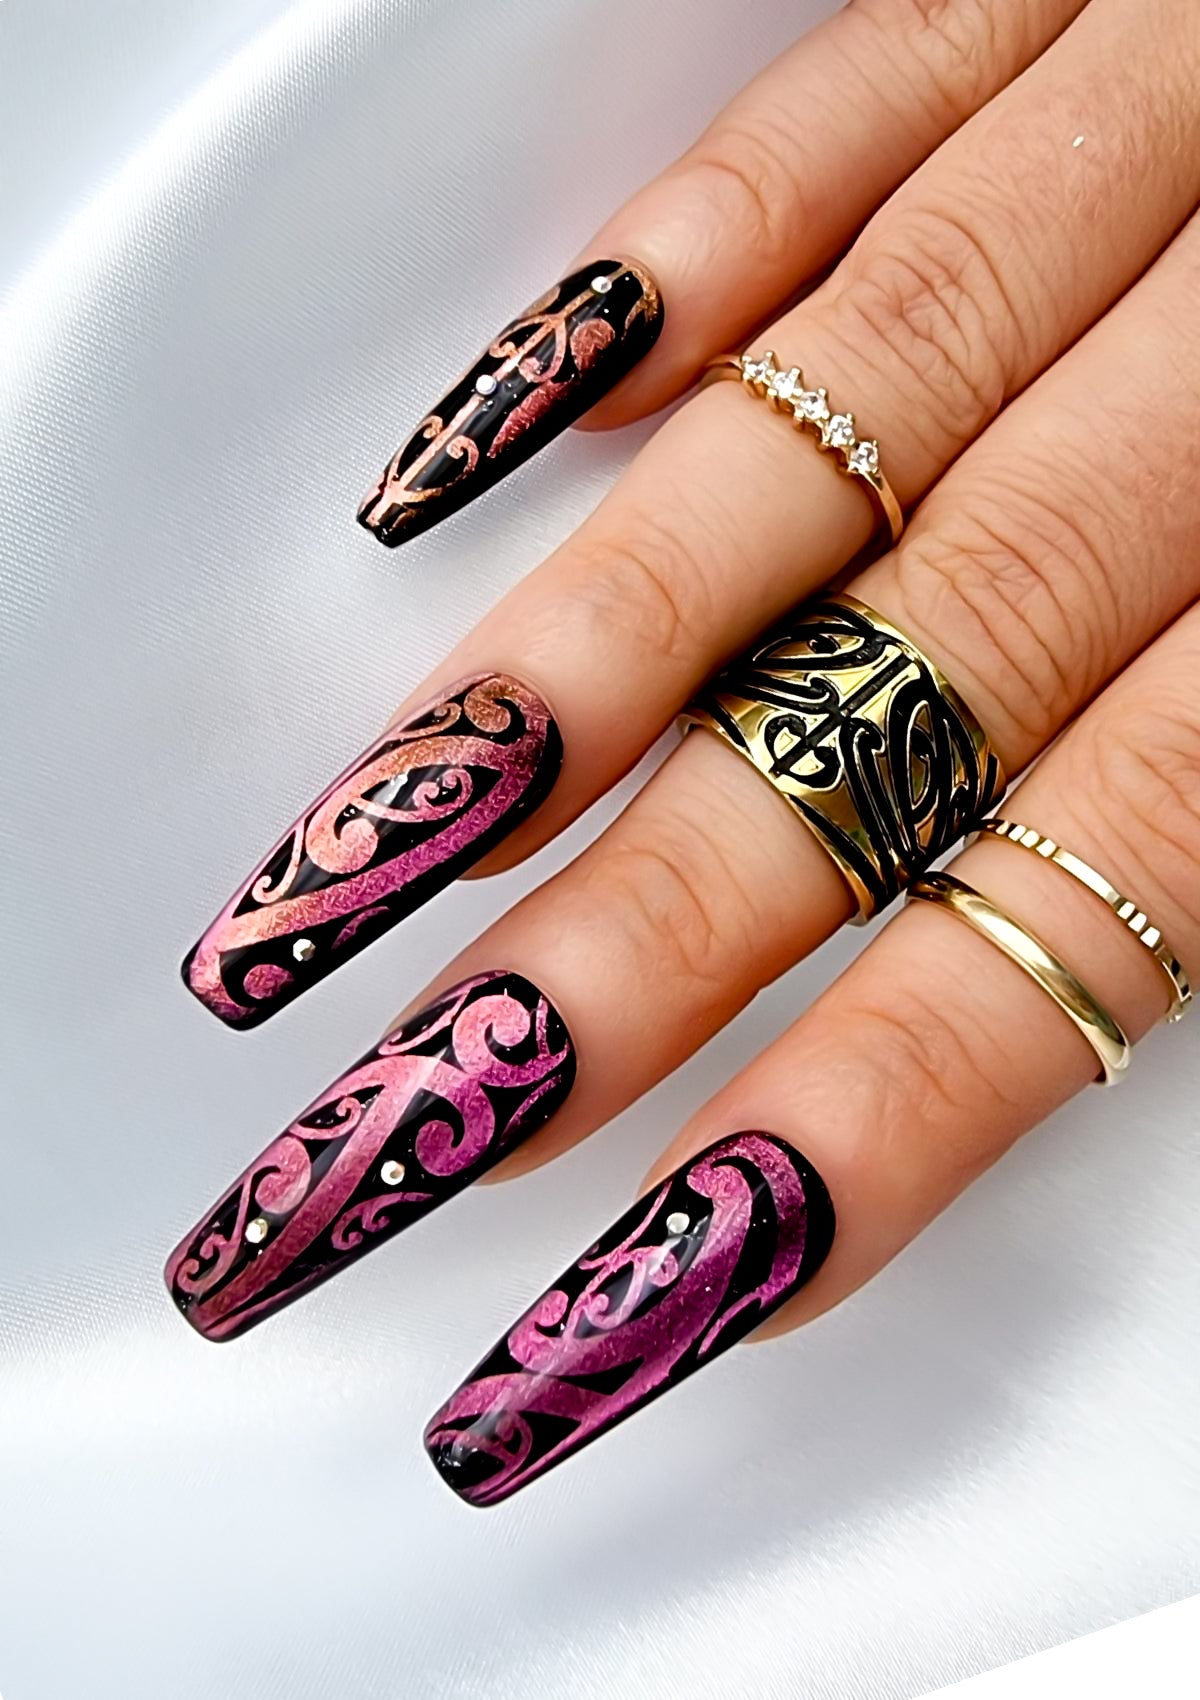
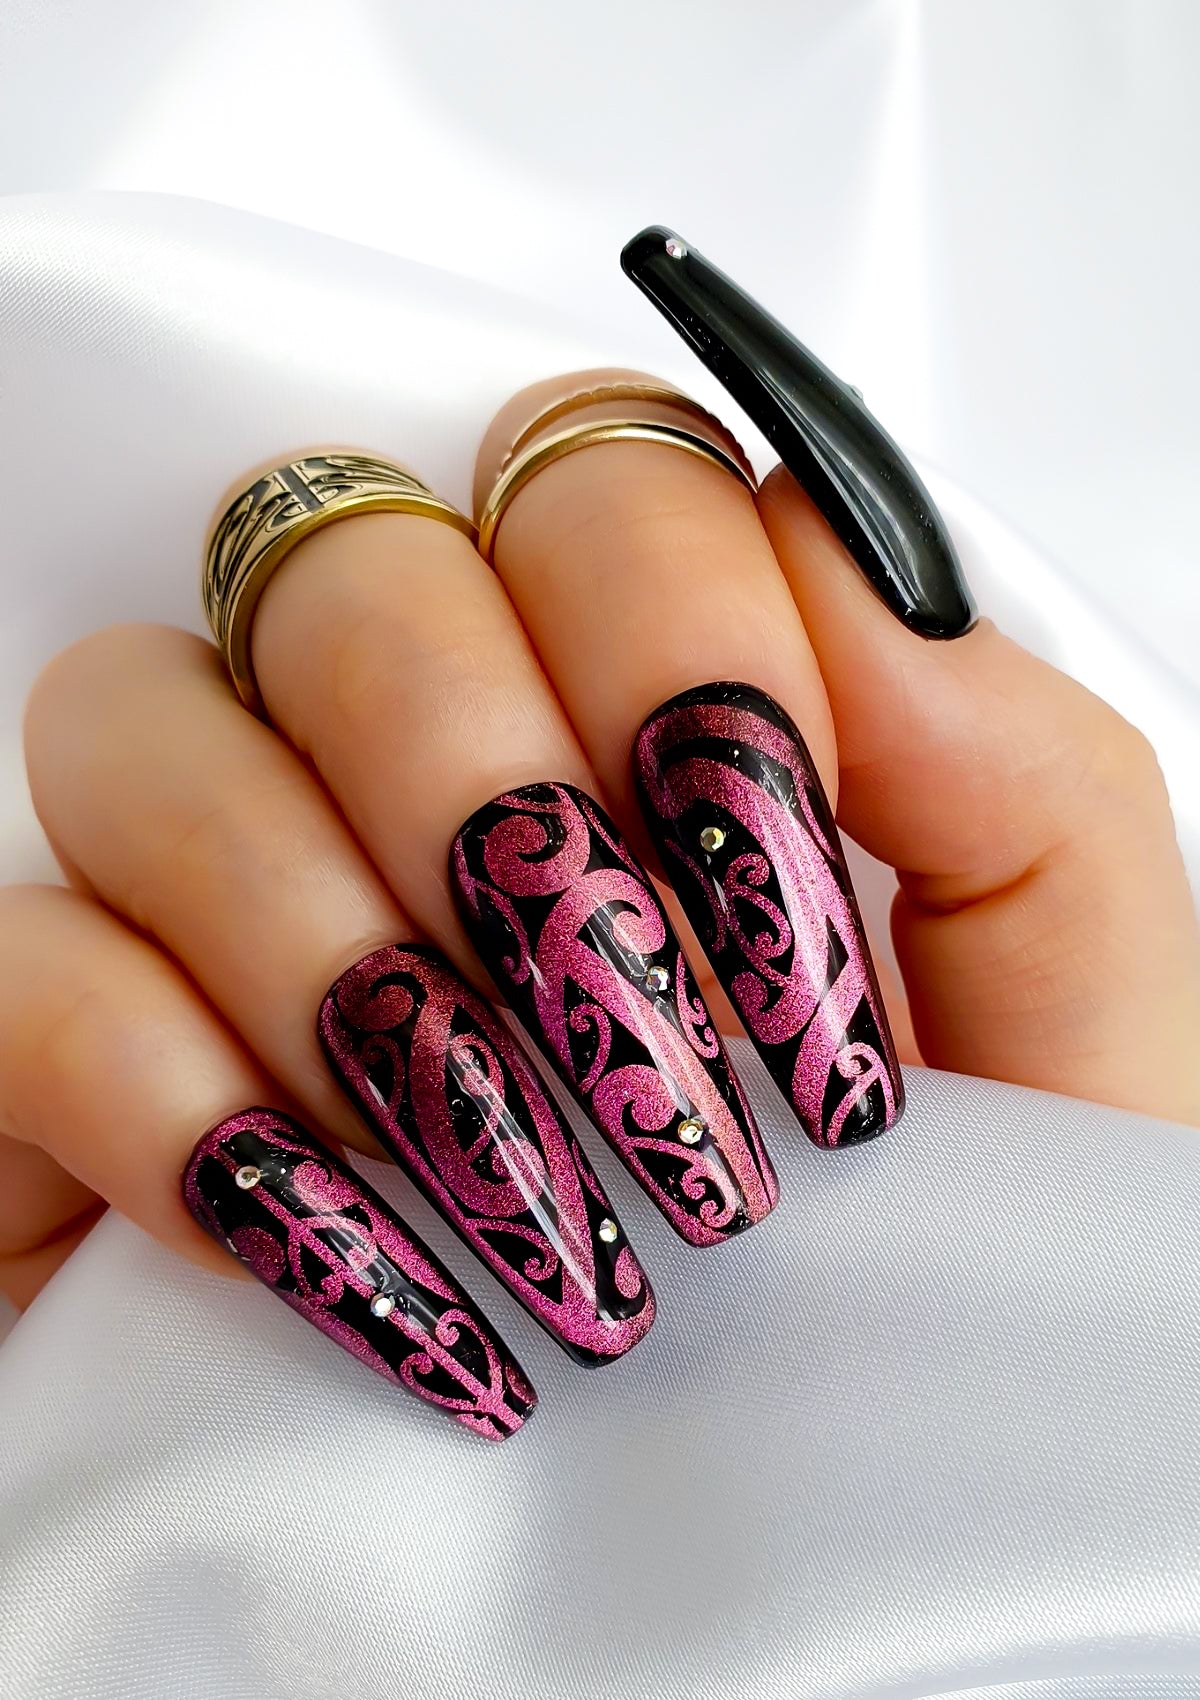

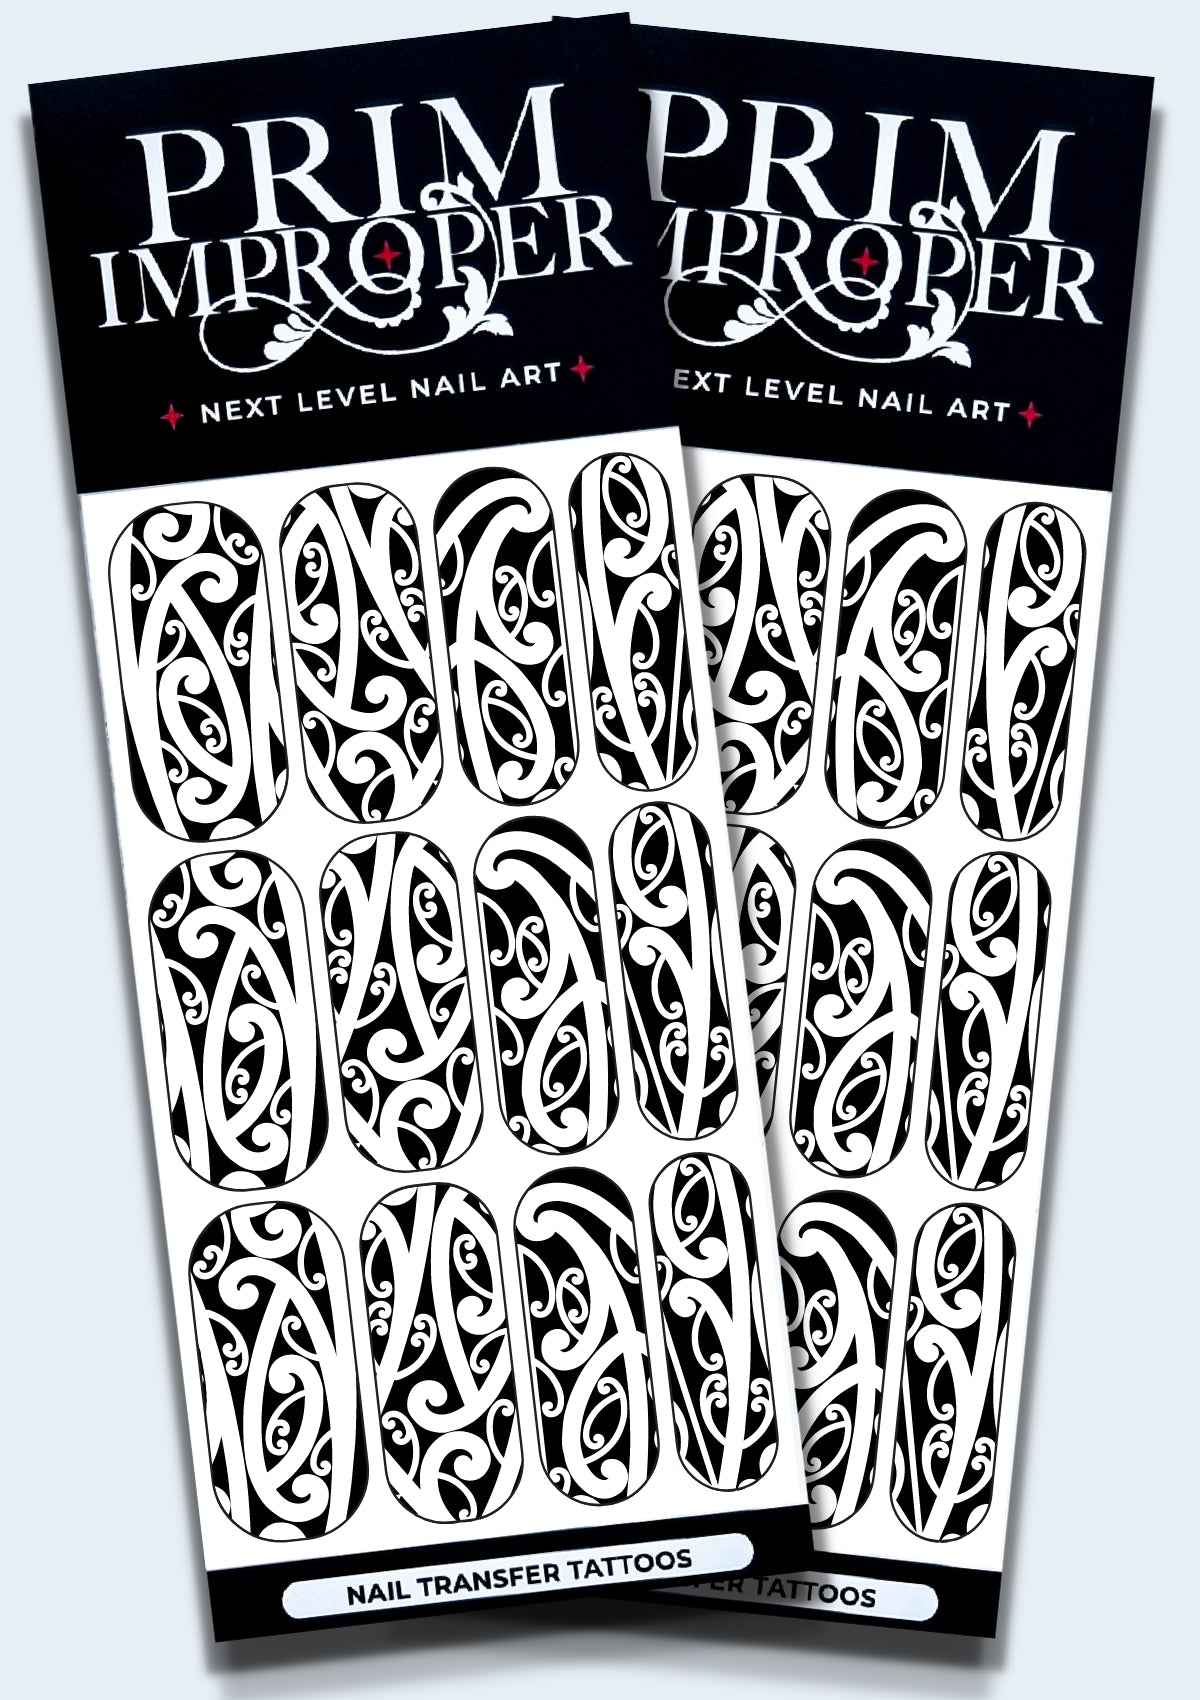
MĀORI NAIL TRANSFER TATTOOS - TE PŌ - BLACK & WHITE
This design was inspired by the whakapapa (origins) of Māori creation. Te Pō (the dark, the night) was the state of evolution between Te Kore (nothingness, potential) and Te Ao Mārama (life, light). This design captures the transition from Te Pō to Te Ao Mārama, as light (or base colour) is visible through parts of the darkness. Let this set remind you to trust that the darkness will always be followed by learning and light.
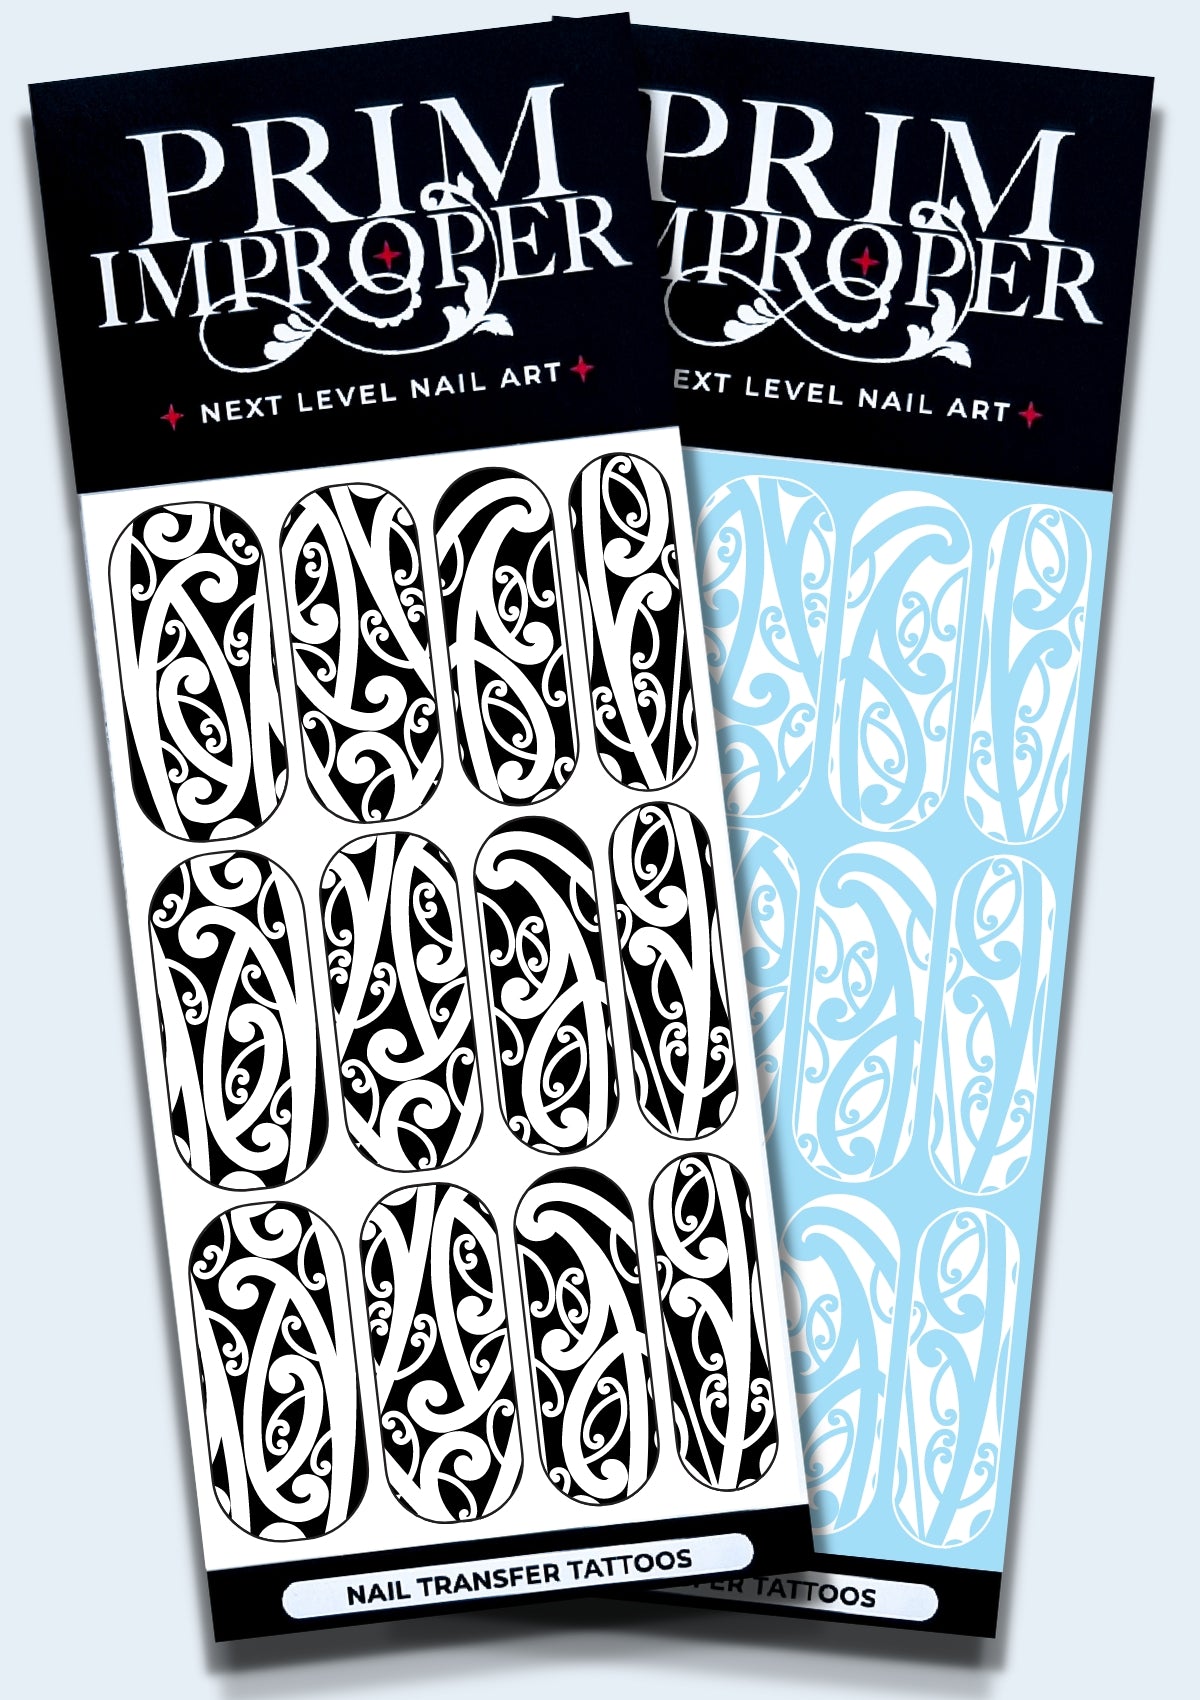
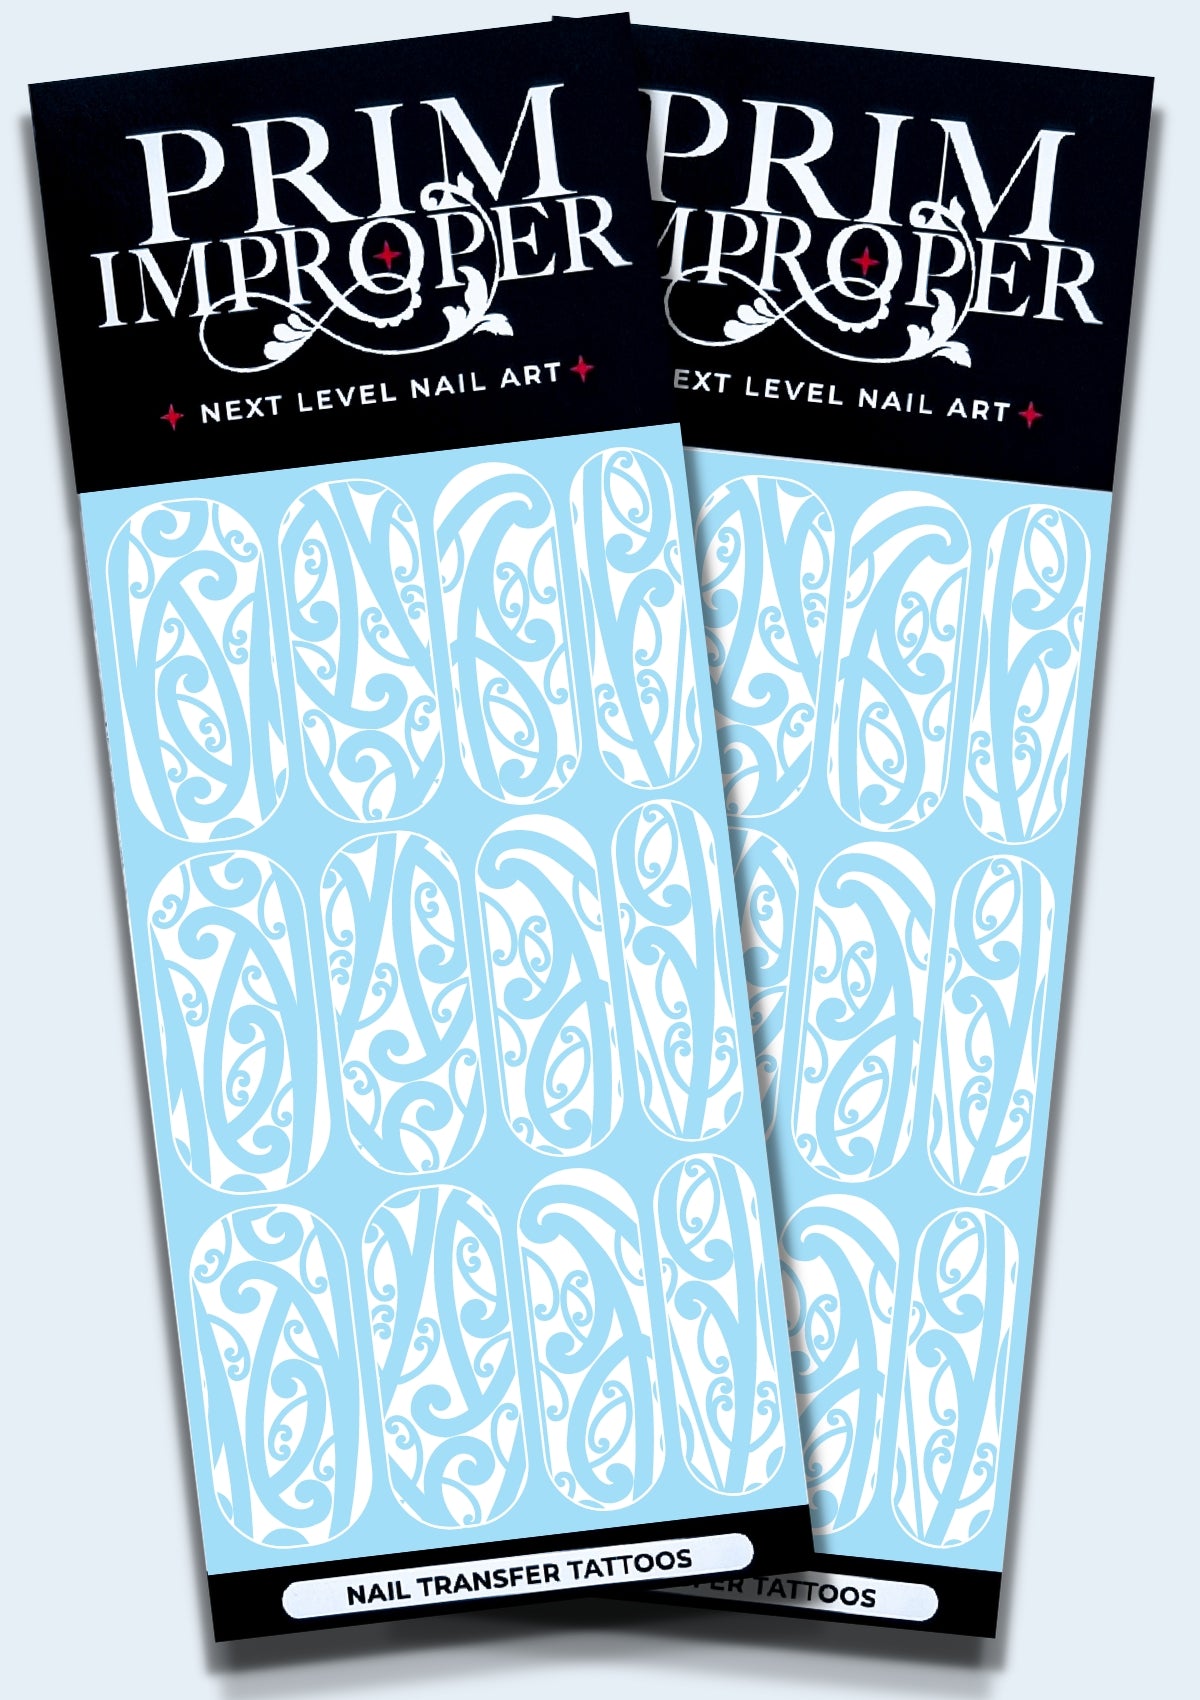
Includes 2 sheets of 12 (37mm long) in your choice of black, white or both.
Handmade with love in Aotearoa (New Zealand).
Designed by Lance from 818 Ink
PRODUCT INFO
Our Nail Transfer Tattoos are printed onto special transparent film using the latest print technology. This thin, flexible film is water activated, which enables it to wrap snugly over the nail surface for fast, easy nail art application.
This product is designed for both professional use and DIY manicures with regular nail polish.
HOW TO APPLY - IN SALON
1. Begin with a cured coat of gel polish. Trim selected Tattoo to size.
2. Dip the Tattoo into water for 5 seconds. Remove, then allow film to activate for 30 seconds.
3. Carefully slide the Tattoo from the backing paper onto the nail surface.
4. Gently smooth any creases or air bubbles using your fingertip.
5. Trim off any excess or remove by gently filing downwards. If needed, tidy the cuticle area using a small brush dipped in polish remover.
6. Optional: buff the free edge and cap with acid-free primer. Highly recommended for full cover designs.
7. Seal with a layer of base gel. Cure. Apply builder gel or gel top coat. Cure.
8. Remove tacky layer. Buff nail until smooth. Apply final gel top coat. Cure. Flex!
HOW TO APPLY - AT HOME
1. Apply layer of base coat. Allow to dry completely.
2. Apply layer of colour polish. Allow to dry completely. Repeat as required.
3. Trim selected Tattoo to size. Dip the Tattoo into water for 5 seconds. Remove, then
allow film to activate for 30 seconds.
4. Carefully slide the Tattoo from the backing paper onto the nail surface.
5. Gently smooth any creases or air bubbles using your fingertip.
6. Trim off any excess or remove by gently filing downwards. If needed, tidy the cuticle area and sides using a small brush dipped in acetone.
7. Seal with a layer of top coat. Allow to dry completely. Repeat. Flex!
PROCESSING & SHIPPING
Standard orders are created and shipped within 2 working days.
Custom orders are created and shipped within 3-6 working days, depending on how complex they are.
All orders are tracked and can be monitored via the shipping carrier’s website. Please note that delivery timeframes are estimates only.
Choose options