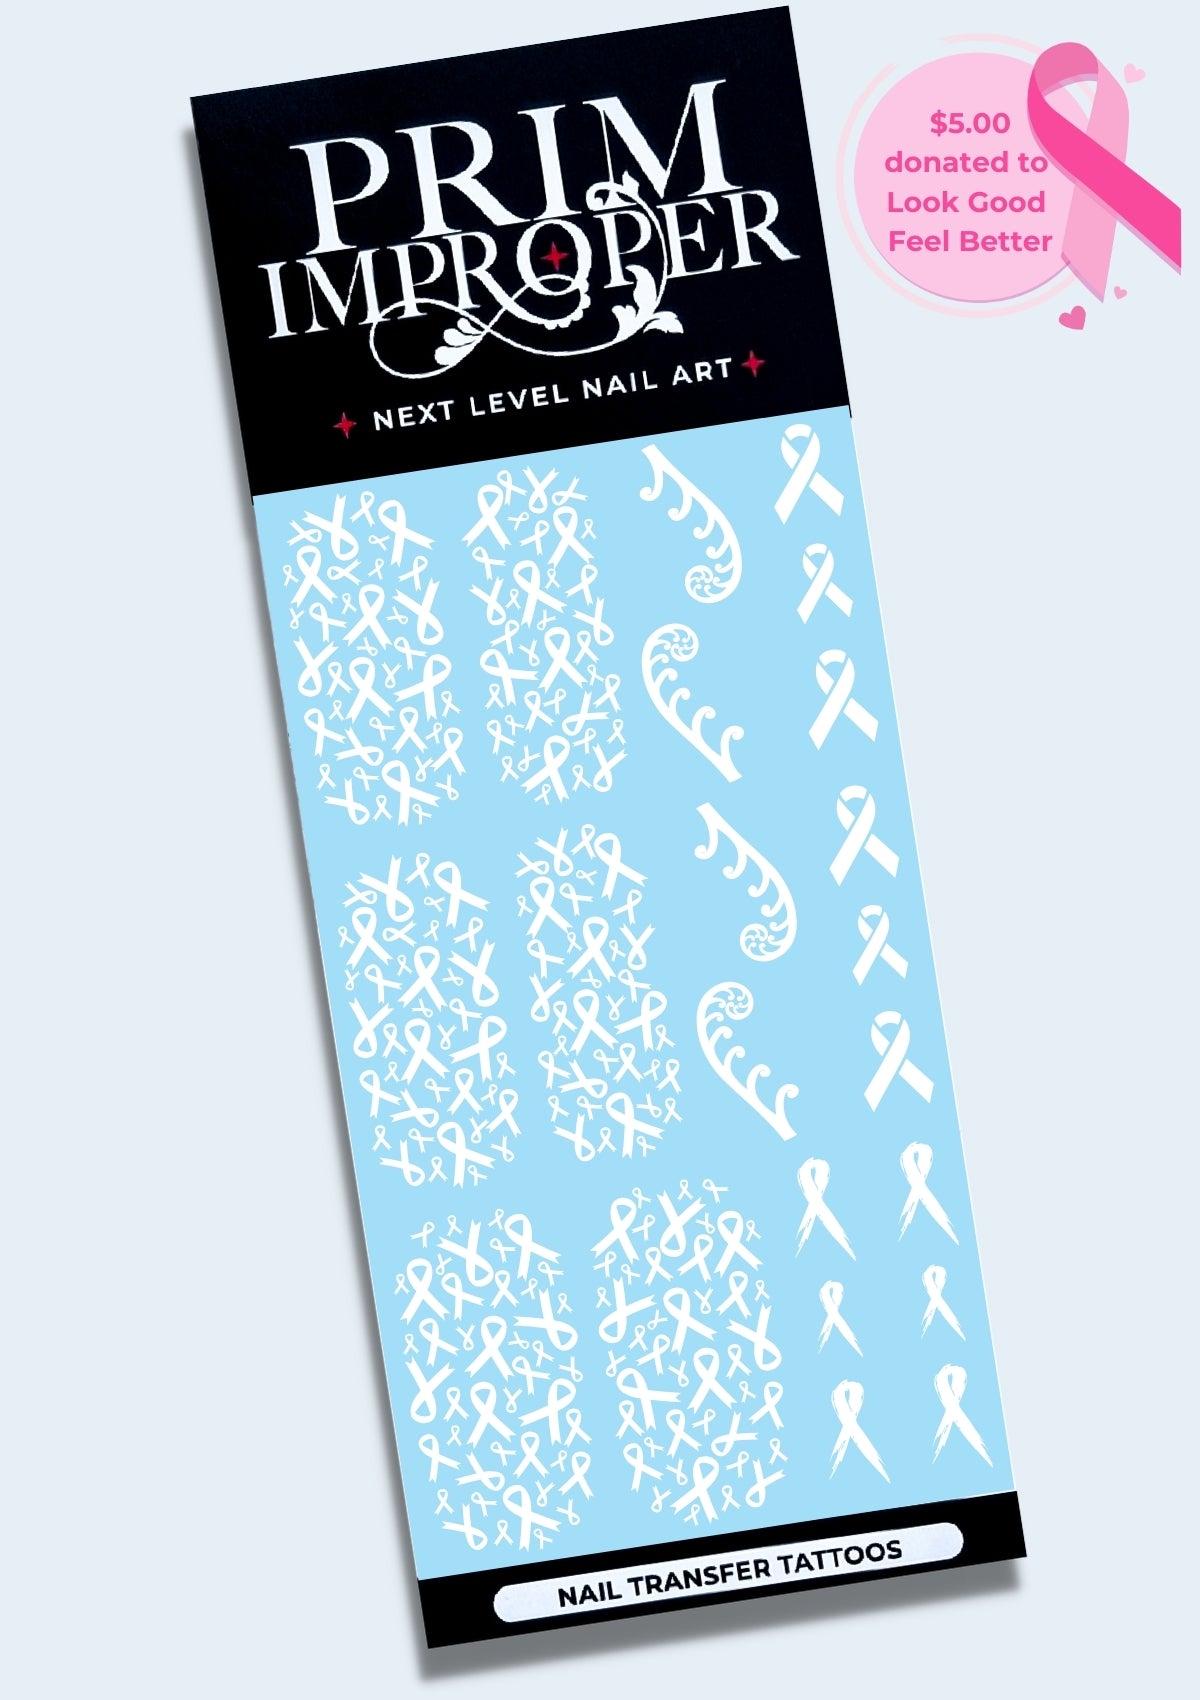
PINK RIBBON NAIL TRANSFER TATTOOS | WHITE
For every product purchased, $5.00 will be donated to Look Good Feel Better. Wear your ribbon on your fingertips this Breast Cancer Awareness Month!
Our Pink Ribbon Nail Transfer Tattoos tell a tale of strength, unity, and undying hope.
The unfurling silver fern is a powerful emblem of regeneration and growth. It mirrors the journey of countless women who have had to face breast cancer head-on.
The iconic pink ribbon represents not just a cause, but a community of fighters, survivors, and supporters. It stands as a reminder to every woman, everywhere, to become breast aware and take charge of their health.
With every purchase, you create ripples of change. For every product purchased from the Pink Ribbon Collection, $5.00 is donated directly to Look Good Feel Better. This organisation is a beacon of hope for those navigating the turbulent waters of breast cancer, offering support, guidance, and community.
In honor of my mother, my grandmother, and all the brave women who have had to battle breast cancer, our Pink Ribbon Collection is dedicated to the power of your spirit, the depth of your courage, and the beauty of your resilience. May this art serve as a reminder that you are not alone, that we stand with you, and that together, we will paint a future filled with hope, health, and healing.
To create a 'Pink Ribbon' manicure, apply these designs over a pink base, then top with a sheer pink (or jelly/glass) polish.
Each set includes 2 sheets of Nail Transfer Tattoos.
Handmade with love in Aotearoa.
PRODUCT INFO
Our Nail Transfer Tattoos are printed onto special transparent film using the latest print technology. This thin, flexible film is water activated, which enables it to wrap snugly over the nail surface for fast, easy nail art application.
This product is designed for both professional use and DIY manicures with regular nail polish.
HOW TO APPLY - IN SALON
1. Begin with a cured coat of gel polish. Trim selected Tattoo to size.
2. Dip the Tattoo into water for 5 seconds. Remove, then allow film to activate for 30 seconds.
3. Carefully slide the Tattoo from the backing paper onto the nail surface.
4. Gently smooth any creases or air bubbles using your fingertip.
5. Trim off any excess or remove by gently filing downwards. If needed, tidy the cuticle area using a small brush dipped in polish remover.
6. Optional: buff the free edge and cap with acid-free primer. Highly recommended for full cover designs.
7. Seal with a layer of base gel. Cure. Apply builder gel or gel top coat. Cure.
8. Remove tacky layer. Buff nail until smooth. Apply final gel top coat. Cure. Flex!
HOW TO APPLY - AT HOME
1. Apply layer of base coat. Allow to dry completely.
2. Apply layer of colour polish. Allow to dry completely. Repeat as required.
3. Trim selected Tattoo to size. Dip the Tattoo into water for 5 seconds. Remove, then
allow film to activate for 30 seconds.
4. Carefully slide the Tattoo from the backing paper onto the nail surface.
5. Gently smooth any creases or air bubbles using your fingertip.
6. Trim off any excess or remove by gently filing downwards. If needed, tidy the cuticle area and sides using a small brush dipped in acetone.
7. Seal with a layer of top coat. Allow to dry completely. Repeat. Flex!
PROCESSING & SHIPPING
Standard orders are created and shipped within 2 working days.
Custom orders are created and shipped within 3-6 working days, depending on how complex they are.
All orders are tracked and can be monitored via the shipping carrier’s website. Please note that delivery timeframes are estimates only.
Choose options


