

PĀUA SHELL NAIL ART KIT
Get ready for a nail transformation like nothing you've ever seen!
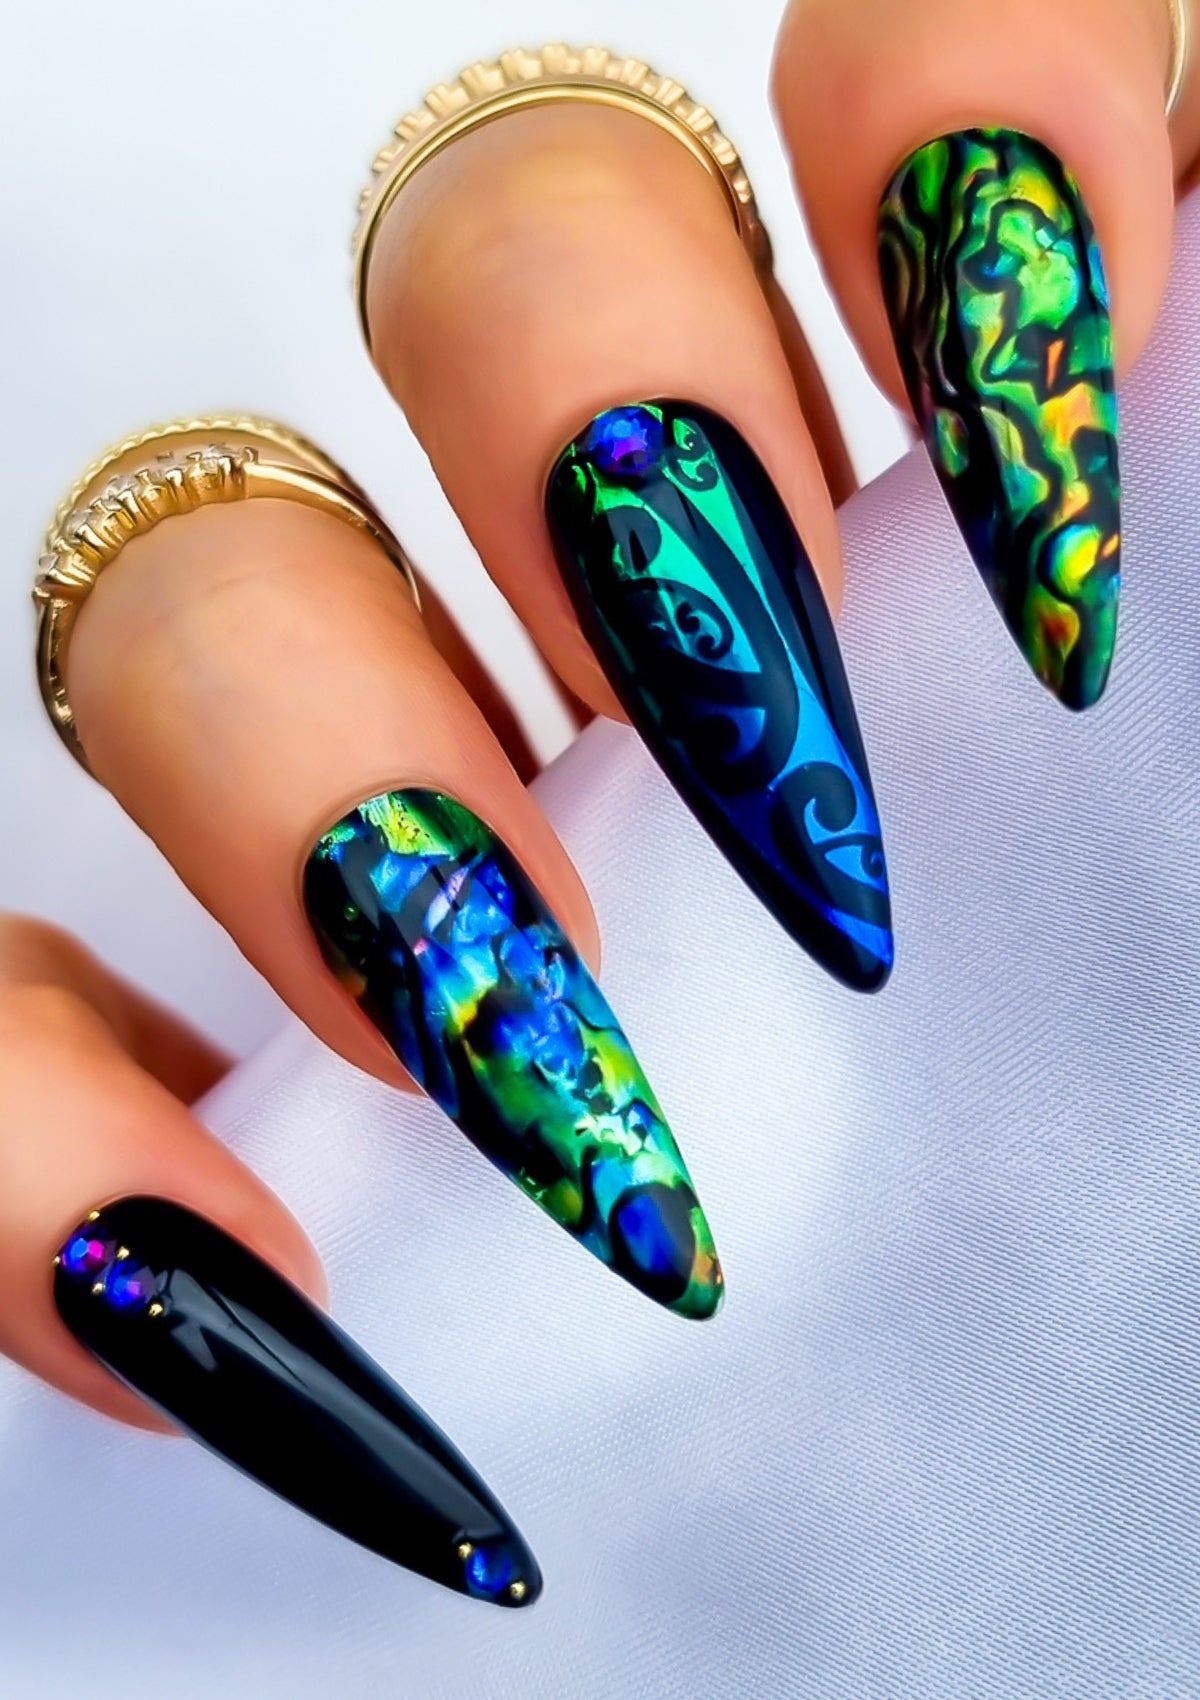
Create a mesmerising underwater mani with our groundbreaking, hyper-realistic new Pāua Shell Nail Art Kits.
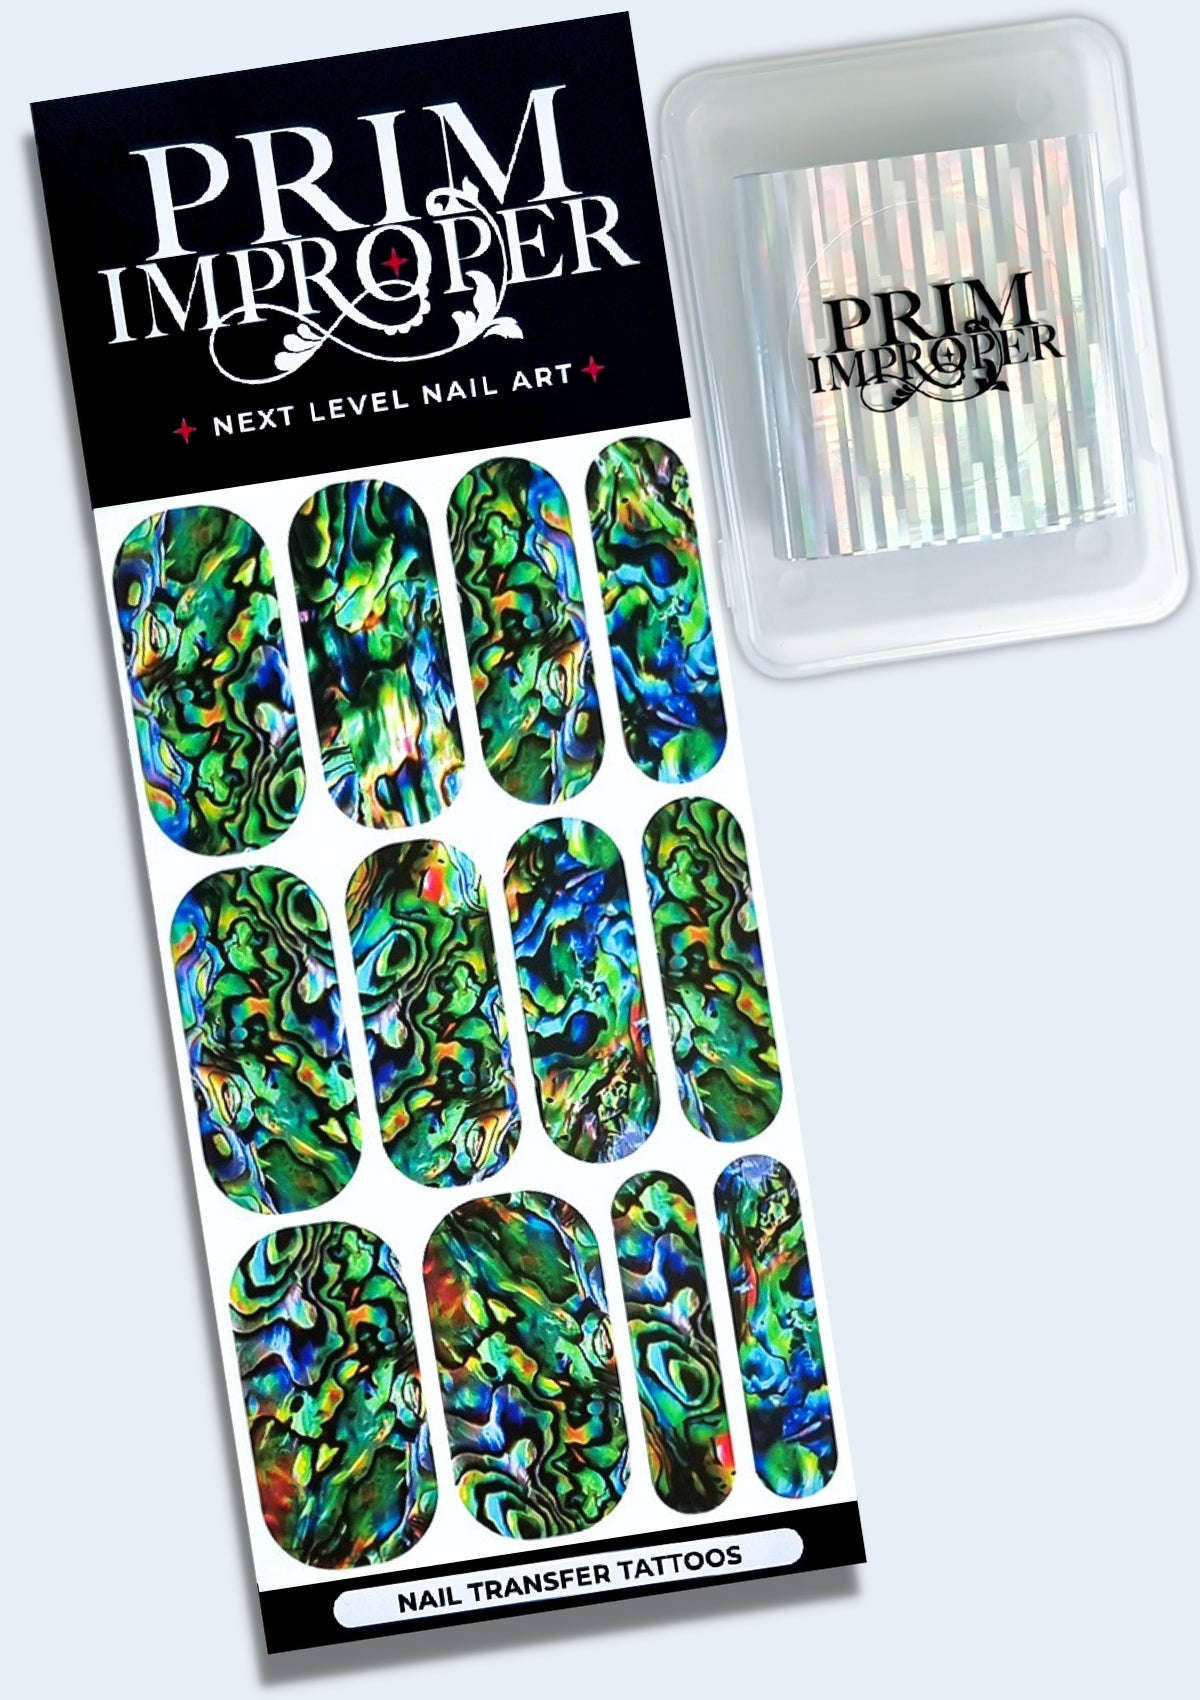
This ultimate nail art combo starts with our signature Pāua 3D Base Foil, for a multi-dimensional iridescent foundation, layered under our vibrant, highly pigmented Pāua Shell Nail Transfer Tattoos. Together, they create the most captivating work of art - your own slice of our Aotearoa seashore right at your fingertips.
Simply take your Nail Art Kit to your favourite nail tech to apply, or check out our Nail Tech Directory for super talented nail artists who can whip you up a ready-to-wear press-on set.
To recreate our display design, pair your Pāua Shell Nail Art Kit with our matching Hinemoana Nail Foils, or check out our customer reviews below for more design inspo.
Single Sheet Kits include: 1 sheet of 12 Pāua Nail Transfer Tattoos (37mm long) & 2 sheets of Pāua 3D Base Foil (30cm long).
Double Sheet Kits include: 2 sheets of 12 Pāua Nail Transfer Tattoos (37mm long) & 4 sheets of Pāua 3D Base Foil (30cm long).
Handmade with love in Aotearoa (New Zealand).
PRODUCT INFO
This kit is a TWO STEP design with a Nail Foil base and a Nail Transfer Tattoo on top.
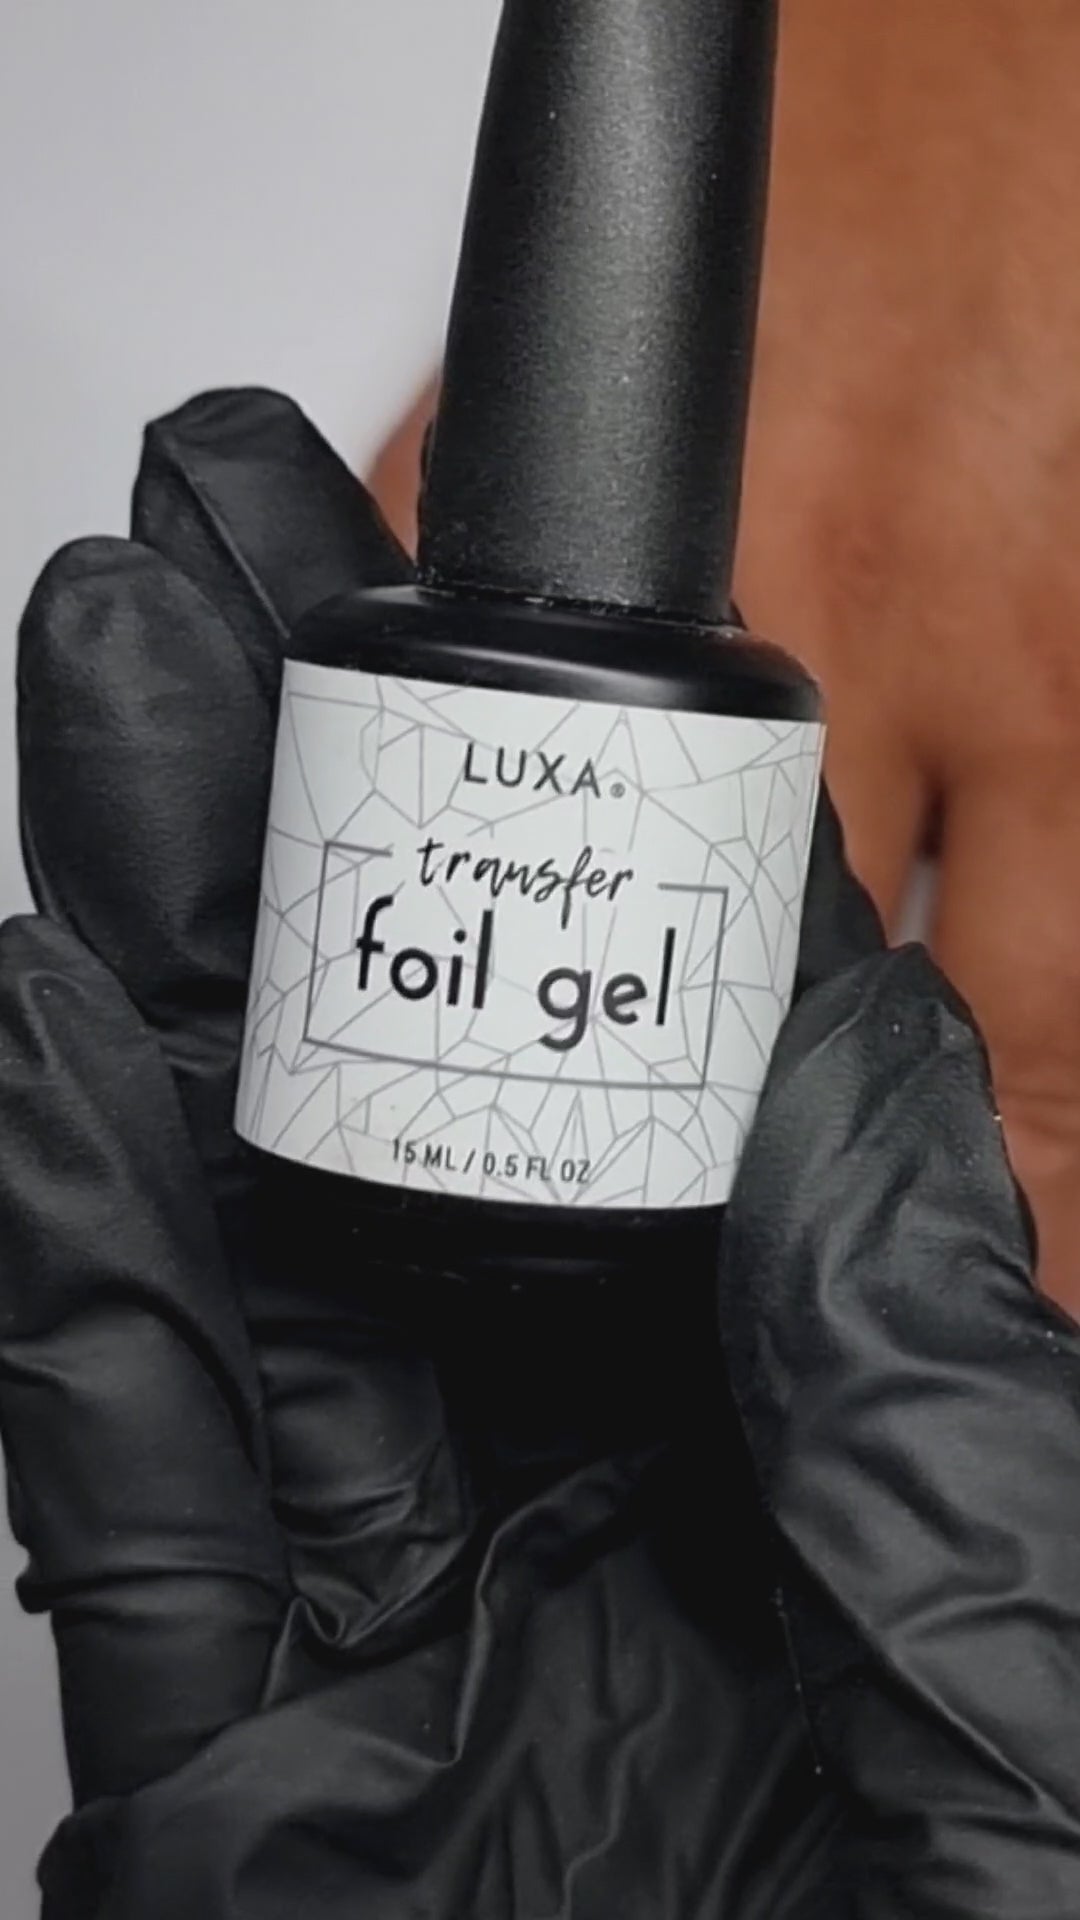
To achieve a flawless transfer, our Nail Foils require a UV cured foil gel layer to adhere to. Take them to your favourite nail tech to apply.
Our Nail Transfer Tattoos are printed onto special transparent film using the latest print technology. This thin, flexible film is water activated, which enables it to wrap snugly over the nail surface for fast, easy nail art application.
HOW TO APPLY
STEP ONE - PĀUA 3D BASE FOIL
1. Apply an even coat of Foil Gel over cured gel polish or enhancements. Cure. Allow to cool for 60 seconds.
2. Place your Pāua 3D Base Foil onto the nail (shiny side facing up).
3. Rub firmly over the entire nail surface, starting from the centre and working your way outwards.
4. Slowly peel back the film. If any areas were missed, press the film back down and rub again.
5. Gently buff the free edge and cap with acid-free primer.
6. Seal with a coat of base gel. Cure.
STEP TWO - PĀUA NAIL TRANSFER TATTOOS
1. Trim selected Tattoo to size.
2. Dip the Tattoo into water for 5 seconds. Remove, then allow film to activate for 30 seconds.
3. Carefully slide the Tattoo from the backing paper onto the nail surface.
4. Gently smooth any creases or air bubbles using your fingertip.
5. Trim off any excess or remove by gently filing downwards. If needed, tidy the cuticle area using a small brush dipped in acetone.
6. Buff the free edge and cap with acid-free primer.
7. Seal with a layer of base gel. Cure. Apply builder gel or gel top coat. Cure.
8. Remove tacky layer. Buff nail until smooth. Apply final gel top coat. Cure. Flex!
PROCESSING & SHIPPING
Standard orders are created and shipped within 2 working days.
Custom orders are created and shipped within 3-6 working days, depending on how complex they are.
All orders are tracked and can be monitored via the shipping carrier’s website. Please note that delivery timeframes are estimates only.
Choose options


