
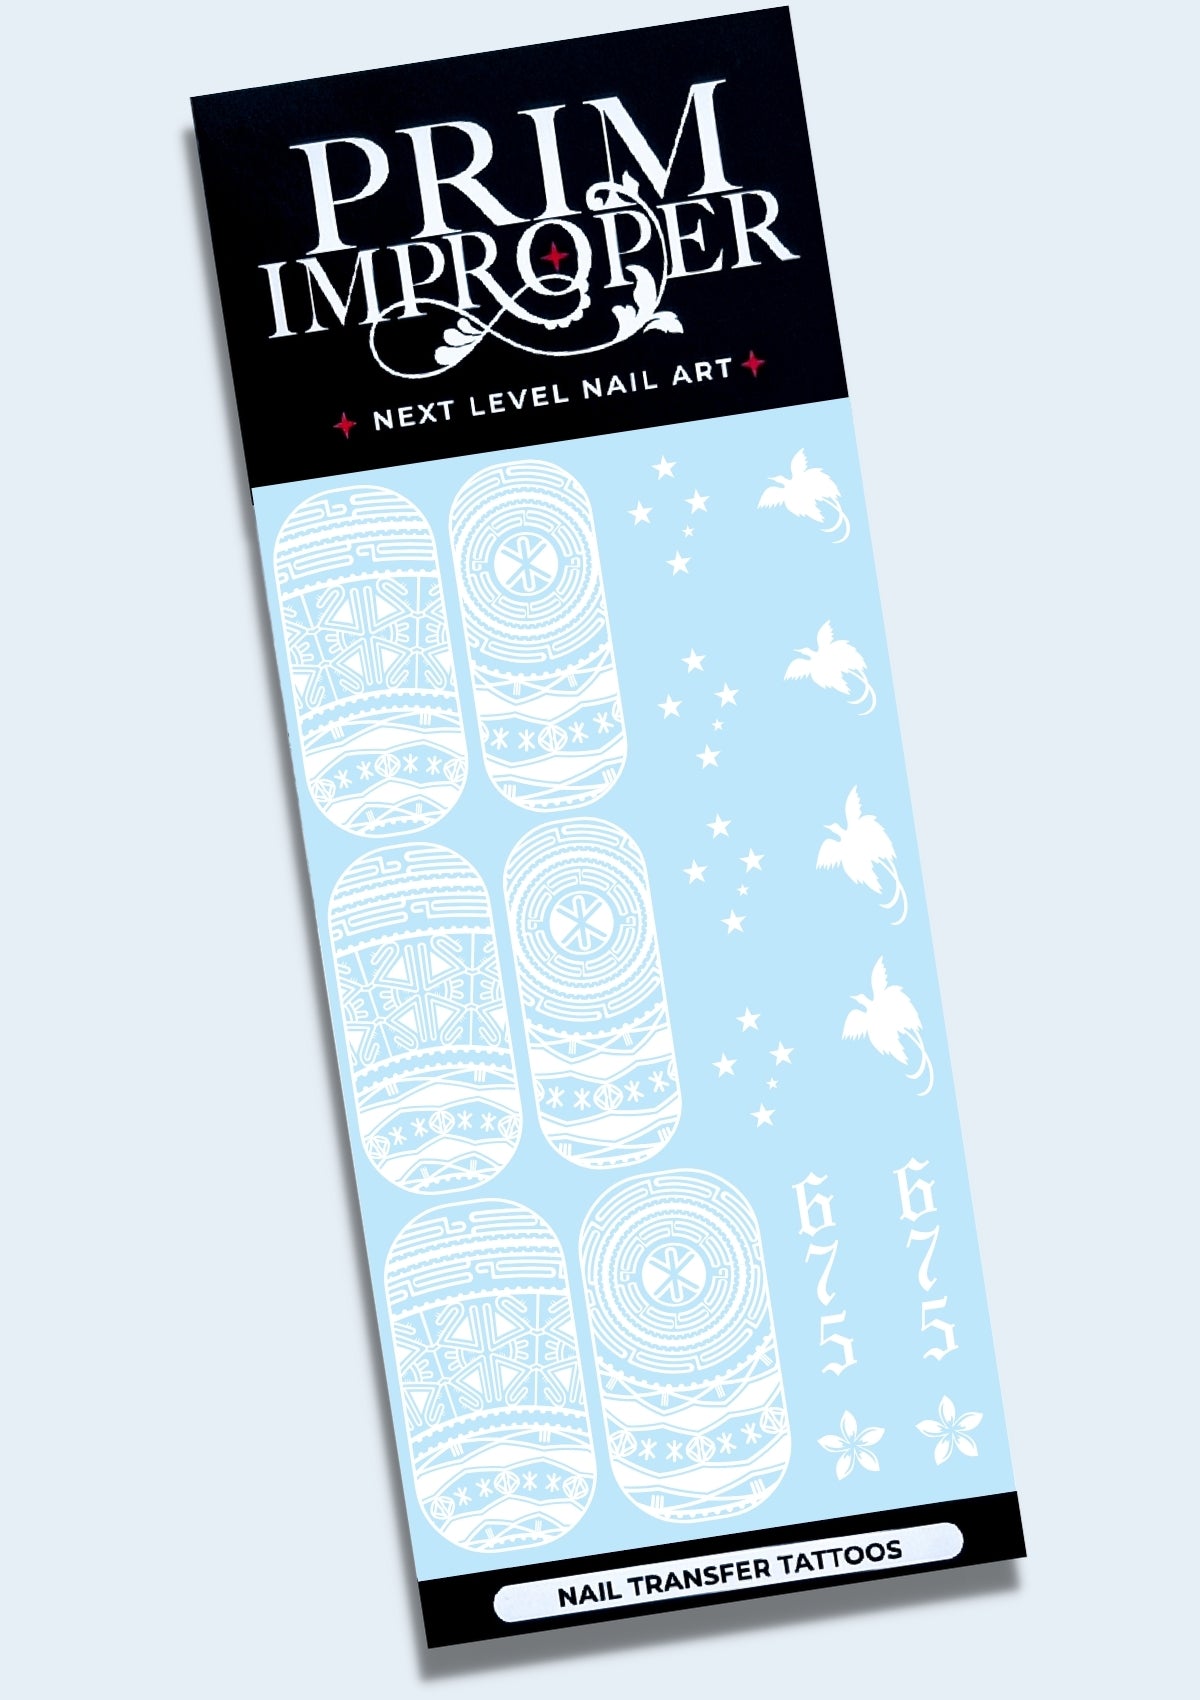
PAPUA NEW GUINEA NAIL TRANSFER TATTOOS | WHITE
With love and intention, Daesyn Lee – a proud Samoan, Niuean, Māori artist and māmā of five – created this piece to honour you: the Papua New Guinean woman whose strength runs as deep as her roots. The mountain motifs reflect your land – wild, powerful, and beautiful – and the resilience it shapes in you every day. The zigzags are your journey, the highs, the lows, the way you keep moving, always showing up for your people.
The diamond patterns carry the story of your womanhood – a sacred journey full of meaning, shaped by ceremony, tradition, and the wisdom of generations before you. This design was made for you – for the pride you wear so naturally, the culture you hold close, and the strength that’s always been yours.
Each set includes 2 sheets of Nail Transfer Tattoos, plus a sample of matching brushed gold Nail Foils.
Handmade with love in Aotearoa, New Zealand.
PRODUCT INFO
Our Nail Transfer Tattoos are printed onto special transparent film using the latest print technology. This thin, flexible film is water activated, which enables it to wrap snugly over the nail surface for fast, easy nail art application.
This product is designed for both professional use and DIY manicures with regular nail polish.
HOW TO APPLY - IN SALON
1. Begin with a cured coat of gel polish. Trim selected Tattoo to size.
2. Dip the Tattoo into water for 5 seconds. Remove, then allow film to activate for 30 seconds.
3. Carefully slide the Tattoo from the backing paper onto the nail surface.
4. Gently smooth any creases or air bubbles using your fingertip.
5. Trim off any excess or remove by gently filing downwards. If needed, tidy the cuticle area using a small brush dipped in polish remover.
6. Optional: buff the free edge and cap with acid-free primer. Highly recommended for full cover designs.
7. Seal with a layer of base gel. Cure. Apply builder gel or gel top coat. Cure.
8. Remove tacky layer. Buff nail until smooth. Apply final gel top coat. Cure. Flex!
HOW TO APPLY - AT HOME
1. Apply layer of base coat. Allow to dry completely.
2. Apply layer of colour polish. Allow to dry completely. Repeat as required.
3. Trim selected Tattoo to size. Dip the Tattoo into water for 5 seconds. Remove, then
allow film to activate for 30 seconds.
4. Carefully slide the Tattoo from the backing paper onto the nail surface.
5. Gently smooth any creases or air bubbles using your fingertip.
6. Trim off any excess or remove by gently filing downwards. If needed, tidy the cuticle area and sides using a small brush dipped in acetone.
7. Seal with a layer of top coat. Allow to dry completely. Repeat. Flex!
PROCESSING & SHIPPING
Standard orders are created and shipped within 2 working days.
Custom orders are created and shipped within 3-6 working days, depending on how complex they are.
All orders are tracked and can be monitored via the shipping carrier’s website. Please note that delivery timeframes are estimates only.
Choose options